Set-up and synchronization
The qDrive package can be used to synchronize live data into the cloud. This document describes how to set up the synchronization process.
Setting Up The Synchronization
The qDrive package manages data synchronization via a separate process that starts automatically when the package is imported in Python,
i.e., when you run import qdrive.
Note
This means the synchronization process will not start until qDrive is imported in python after a system startup. We aim to automate this process in future releases.
Tip
When working on a server, with no graphical environment, you can log in using an API-Token. Instructions on how to do this can be found here.
Launching the Synchronization GUI
The simplest way to manage synchronization sources is through the GUI. To launch the GUI, run the following command:
python -c "import qdrive; qdrive.launch_GUI()"
This will open the qDrive user interface:
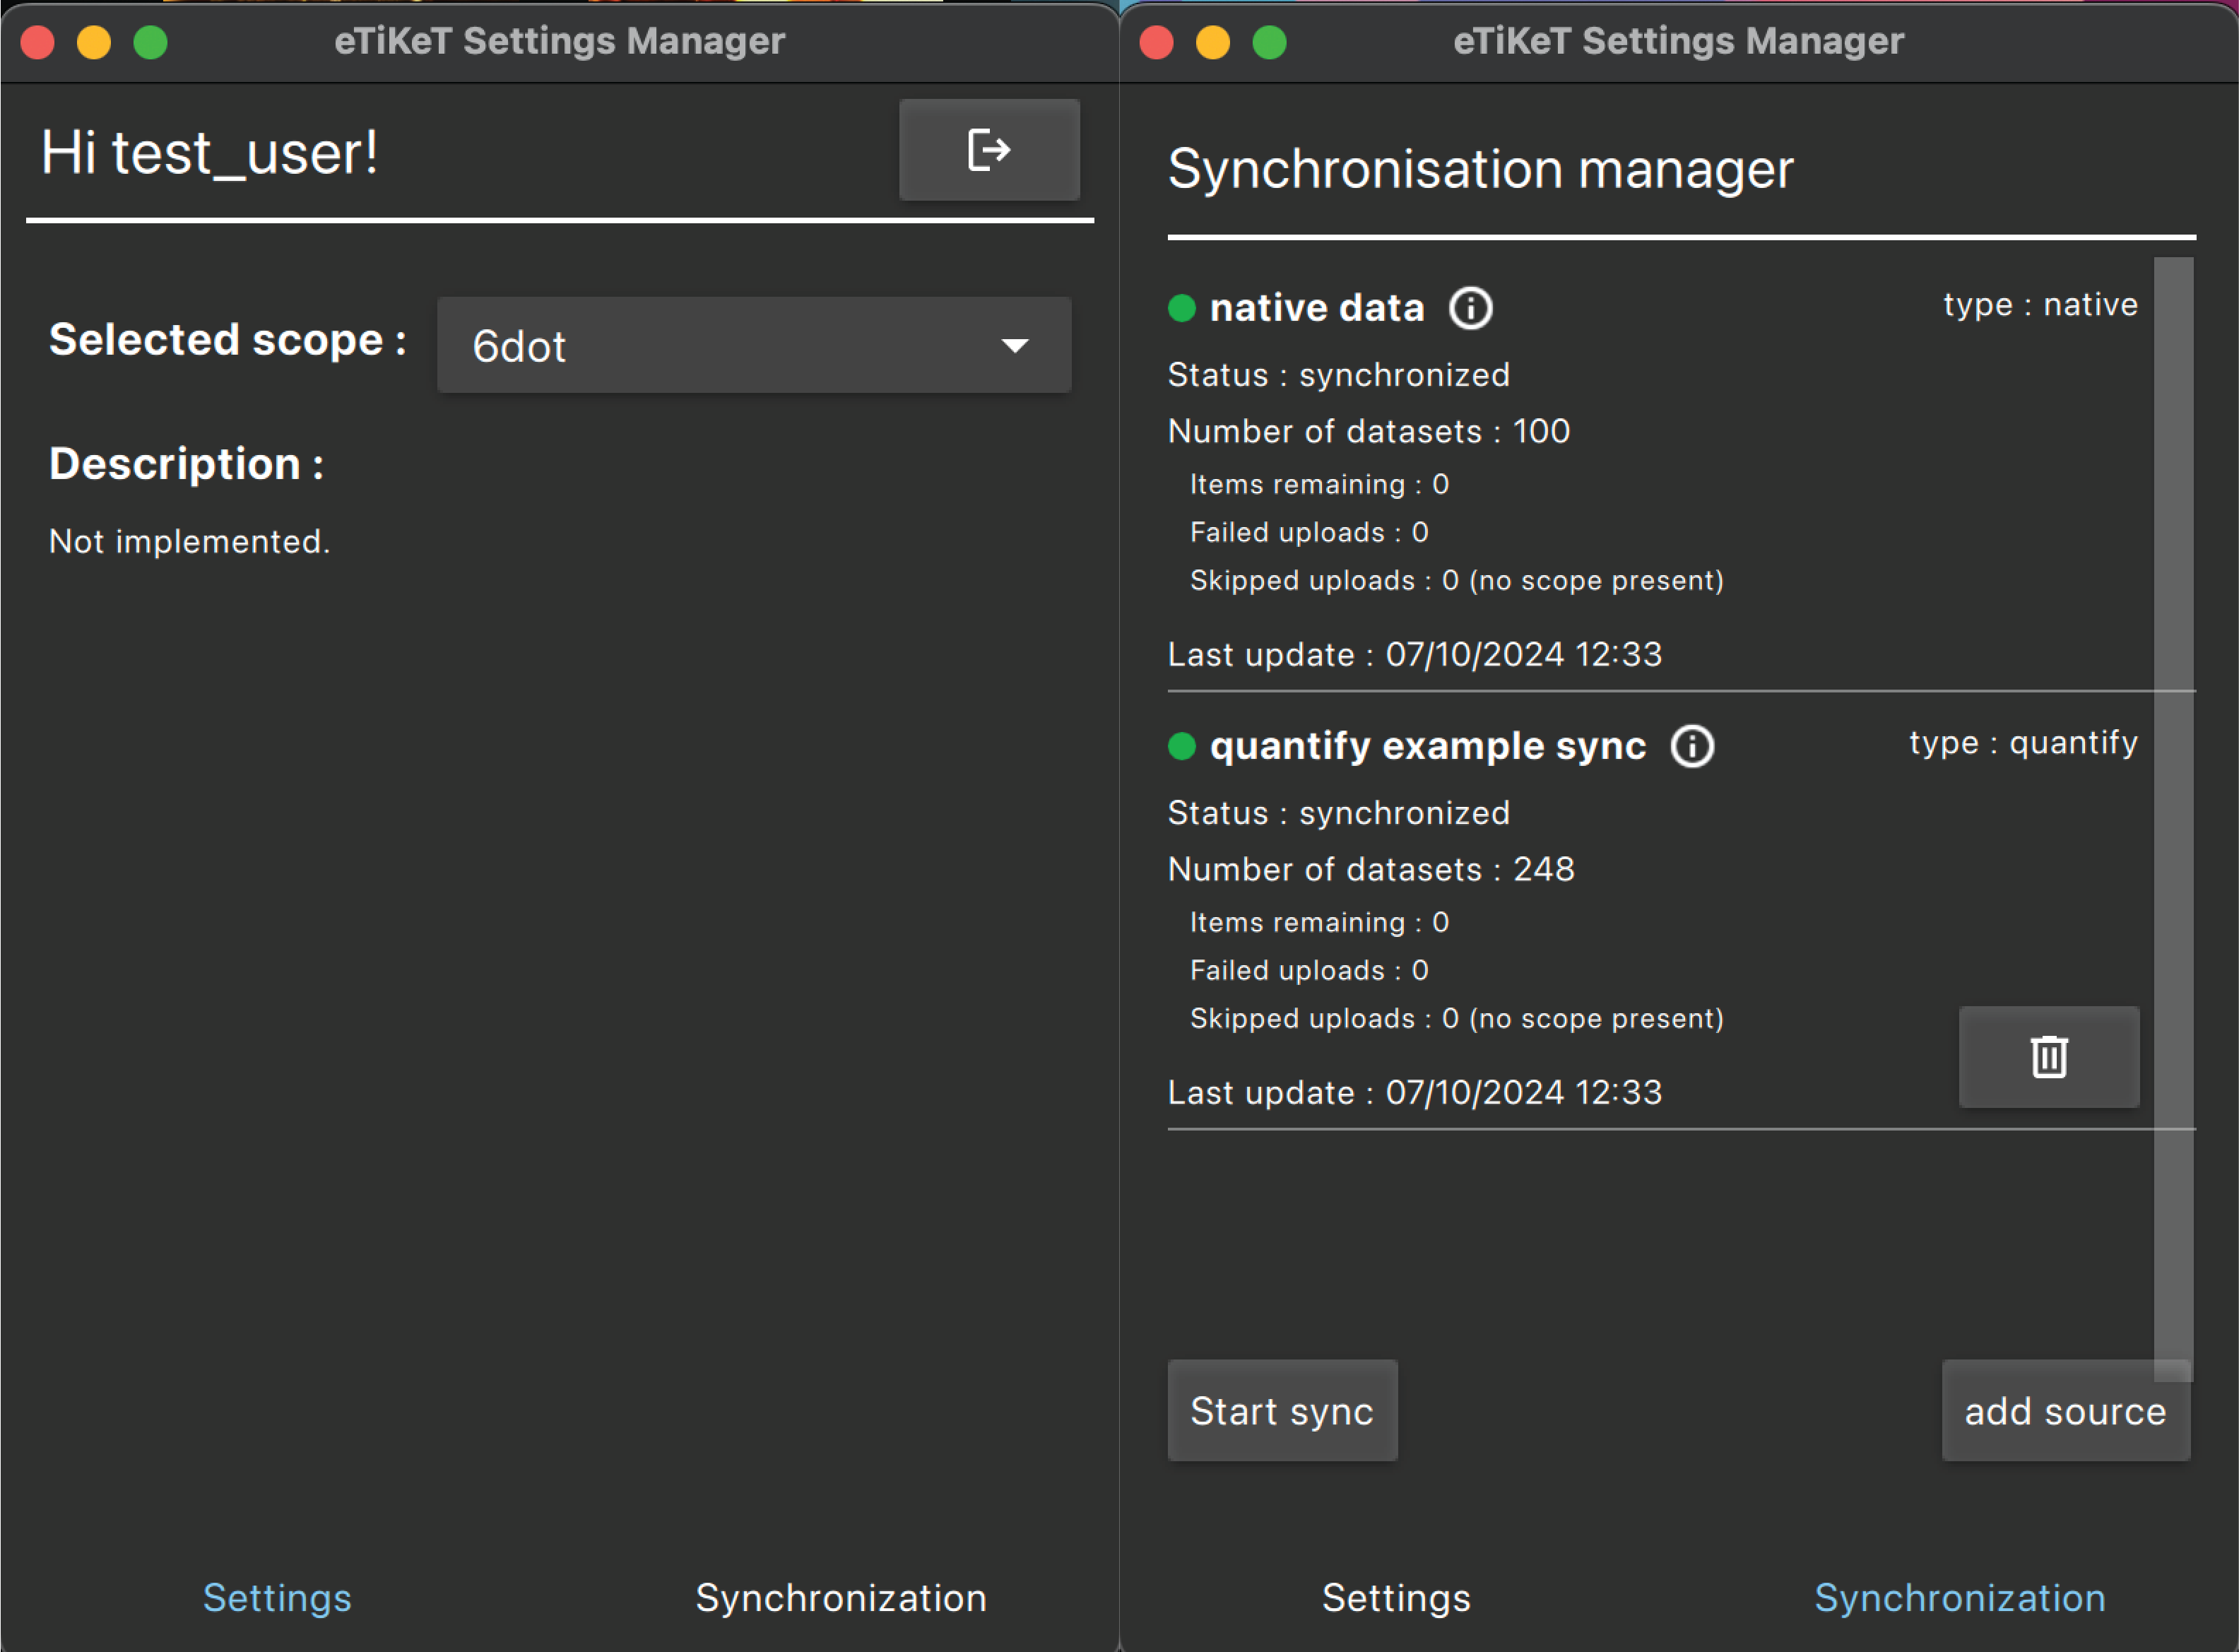
From the GUI, click the Add source button to add new synchronization sources. The available source types are: FileBase, QCoDeS, Quantify (QMI) and Core-Tools
Setting Up a Synchronization for a FileBase Source
This synchronization agent works well for synchronizing (arbitrary) file structures. For example :
main_folder
├── 20240101
│   ├── 20240101-211245-165-731d85-experiment_1              <-- This is a data set
│   │   ├── my_metadata.json
│   │   ├── my_data.hdf5
├── 20240102
│   ├── 20240102-220655-268-455d85-experiment_2               <-- This is a dataset
│   │   ├── my_metadata.json
│   │   ├── my_data.hdf5
│   │   ├── analysis
│   │   │   ├── analysis_metadata.json
│   │   │   ├── analysis_data.hdf5
├── some_other_folder                                         <-- This is a dataset
│   ├── my_data.json
Here we see that datasets can be found at different levels in the folder structure.
To synchronize this data, a file called _QH_dataset_info.yaml can be placed in every folder from which you want to create a dataset.
In this file you can also specify specific metadata and methods to convert files (if needed).
More information on how to create these can be found here.
You can set up the synchronization using this method in the GUI by:
Selecting the scope to which the data should be synchronized.
Selecting the folder to synchronize (e.g.,
main_folderin this example).Choosing whether the location is on a local or network drive. Note that performance may suffer on a network drive, so you might want to try both options to see which works best.
Once these settings are configured, the synchronization agent will start looking for _QH_dataset_info.yaml
files in the folders.